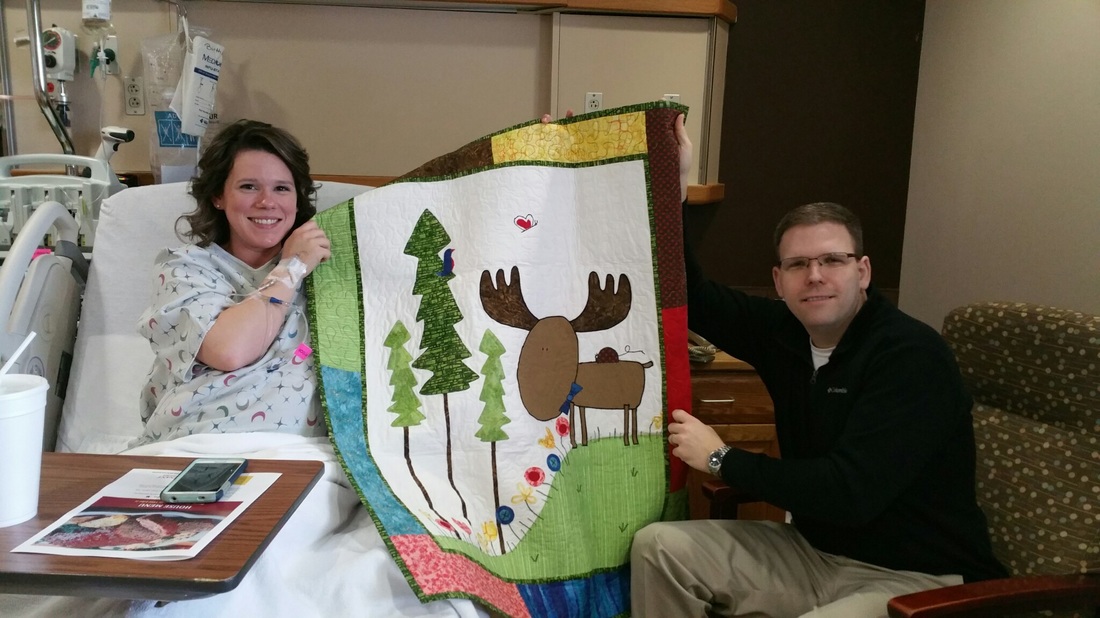
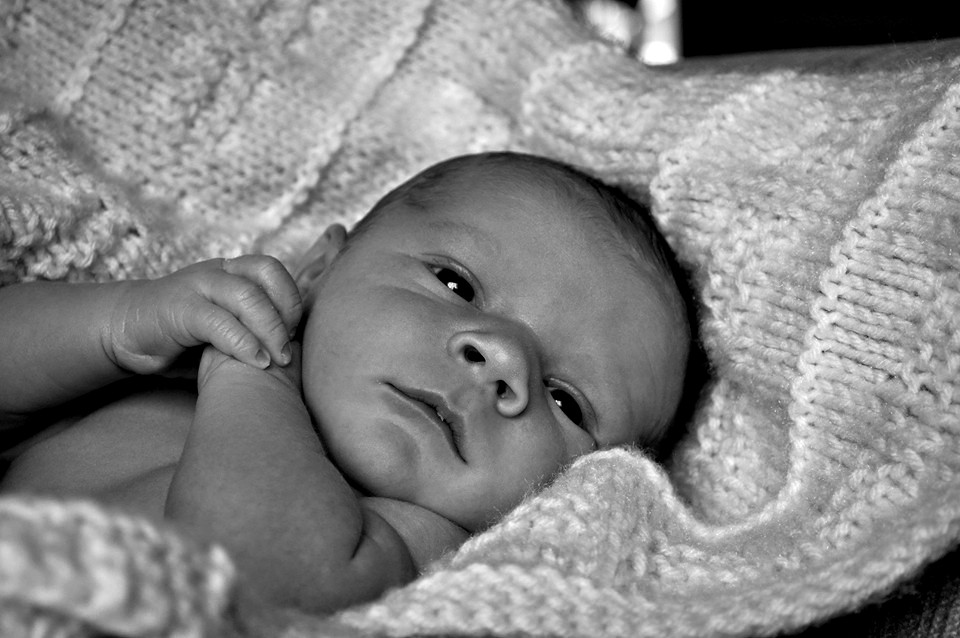
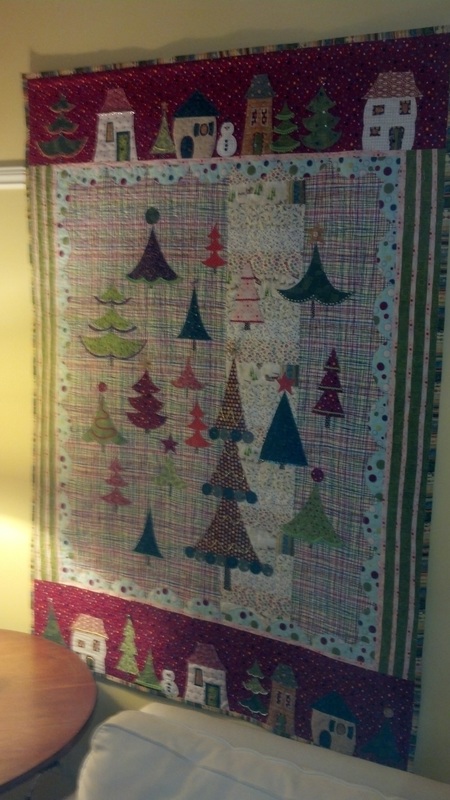
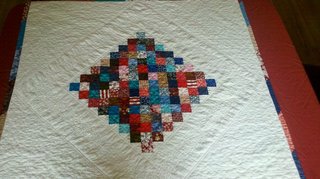
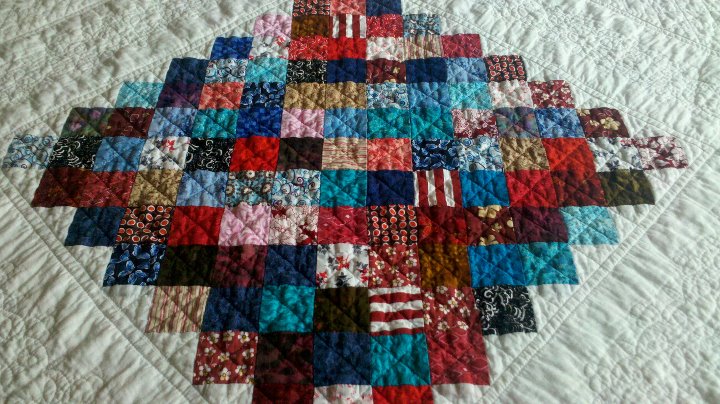
Those who know me don't believe it's true, but I really did finish my new grandbaby's quilt before he was born. JUST before he was born, but still . . . it counts! here's the finished product, which I gave to my daughter and her husband at the hospital, while they were waiting to meet their little guy.
Best of all, I found a way to make the quilt binding with absolutely NO HAND STITCHING. I wouldn't do it this way if I were entering the quilt into a contest--which I've never done, but that's beside the point. But, for every-day quilts, it worked really well. The secret was in discovering a feature on my sewing machine that lets me flip stitches. Here's how I did it.
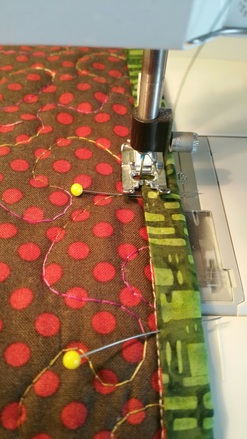
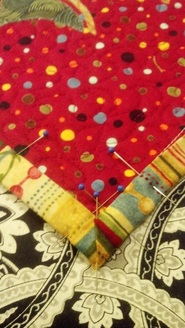
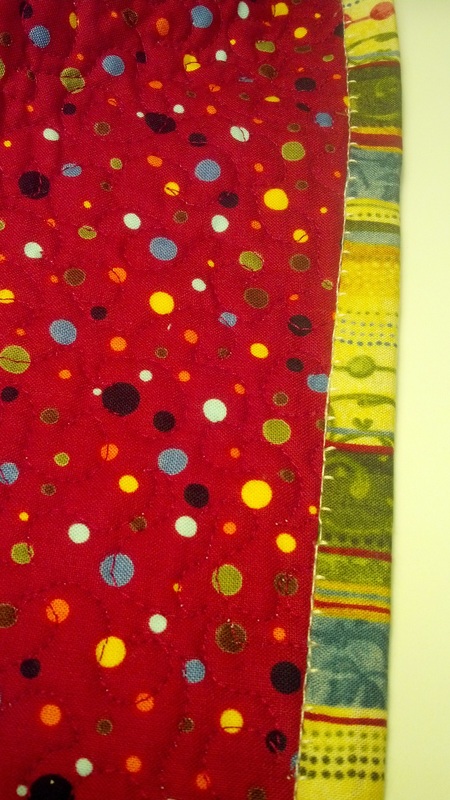
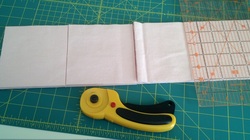
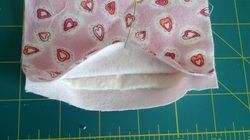
 | The first several steps are exactly like I always do bindings. For my tutorial, see my Christmas quilt post. I started by cutting 2-inch strips of the binding fabric, sewing all the strips together with a diagonal stitch, and pressing under 1/4-inch all along one long edge. Before you start to stitch the binding to the quilt, approximate where the seams in the binding will fall and shift your starting point, if necessary, to avoid having a binding seam fall on the corner of the quilt. Then, stitch the unpressed edge to the back side of the quilt, matching edges, using a scant 1/4-inch seam allowance. Stop stitching a few inches before the binding reaches where you started stitching it. It should look something like this when finished. The brown and white polka dot fabric is the quilt backing. |
Next, I folded the binding over the edge of the fabric and pressed it, with the folded edge falling just past the stitching line on the front of the quilt, so the stitching is hidden under the binding.
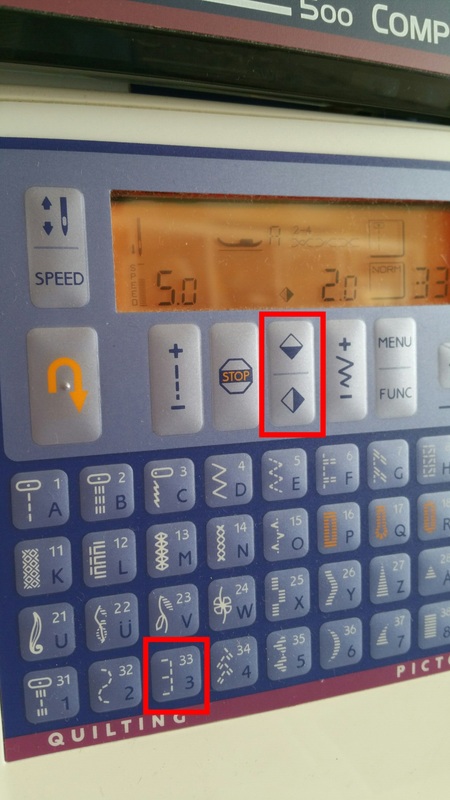
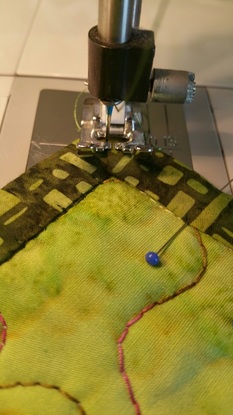
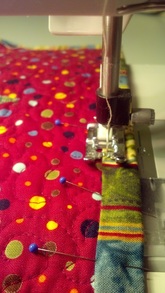
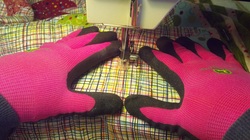
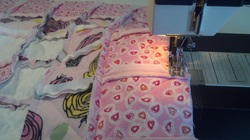
Here comes the fun part! My machine has a button that allows me to flip stitches, either horizontally or vertically. You can see it in this picture in the box on top that I marked in red. I wanted to use a straight blanket stitch (which is marked with the bottom red box), but in order to have the stitch run straight along the folded edge of the binding and jump over onto the binding periodically, I would have to put the entire quilt in the neck of my machine, which wasn't practical.
That's when I discovered that flip button! I could flip the straight button stitch so it jumped over to the right, instead of to the left, allowing me to stitch right along the folded edge of the binding, catching the binding in the blanket stitch. Wallah! That was an epiphany!
Once I figured that out, the rest was relatively easy--except the corners, which weren't too bad once I got the hang of it. I'll show you that in a minute.
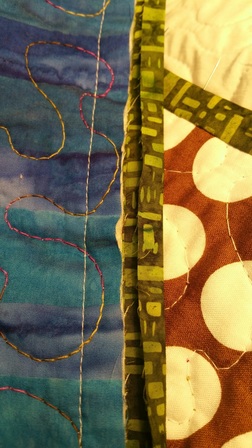
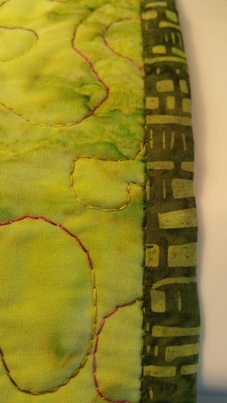
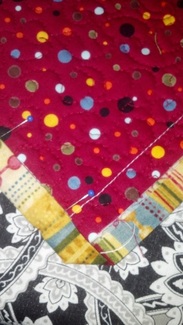
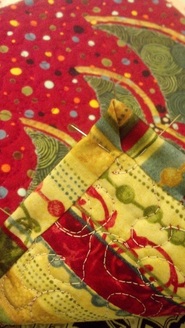
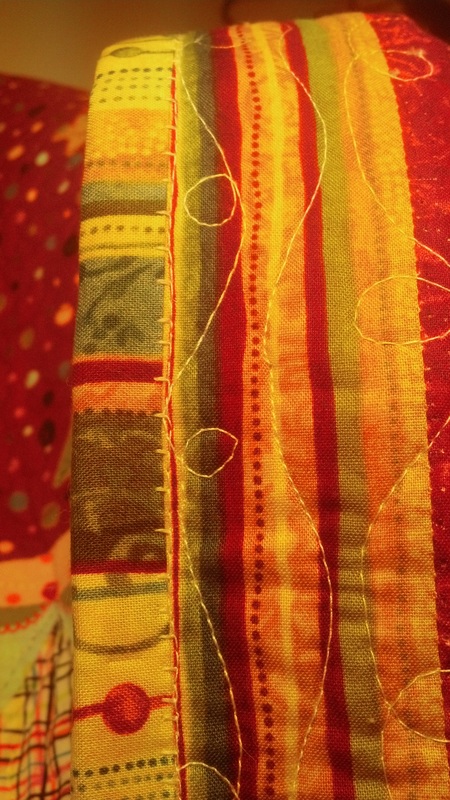
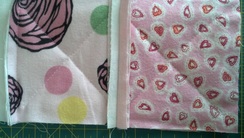
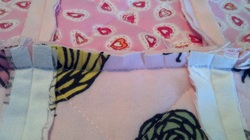
In this photo, you can see that the blanket stitch runs just along the edge of the binding, somewhat like stitching in the ditch. I said I wouldn't use this method for a show quilt because you can see this stitch on the quilt top, if you look closely. And, no matter how careful I was when I pinned, the blanket stitch tended to wander off the edge of the binding on the back of the quilt. But, that doesn't bother me :)
Here's how I did the corners:
When I sewed the binding onto the quilt, I used a method that I first saw in Laura Heine's book, Color Fusion. The key is in sewing the corners properly. I didn't take a photo of this step, but you can see it demonstrated in my early post, when I was working on my Christmas quilt.
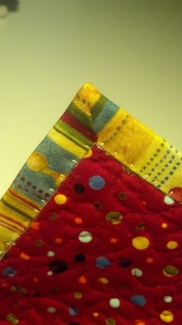
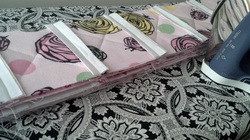
When stitching on the top, I pinned the corners as carefully as possible, to try to cover all the initial stitching and line up with the binding edge on the back. Then, depending on which way the fabric folded on the corner, I either stitched down the binding and turned and stitched down the corner seam, or I ended the stitching at the inner corner and then started the next side at the outer corner. In this photo, you can see that the fabric is folded toward the left. So, in order for the blanket stitch to catch it, I had to start stitching here on the outer corner, then turn to the right and continue stitching the binding down on the next side. I hope that makes sense!
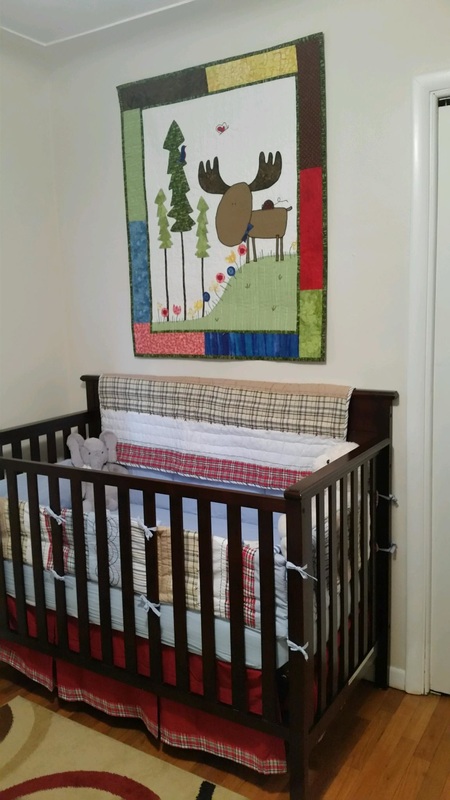
I am pleased with the results, and my daughter and her husband love it! It is now proudly hanging above my grandbaby's crib, where he can enjoy it, too.
Now that we have two grandbabies, I wonder if I'll have time to work on the next quilt. I bet I will! Happy quilting!
I am pleased with the results, and my daughter and her husband love it! It is now proudly hanging above my grandbaby's crib, where he can enjoy it, too.
Now that we have two grandbabies, I wonder if I'll have time to work on the next quilt. I bet I will! Happy quilting!


 RSS Feed
